How to Plug In LED Light Strip Correctly?
Plugging in an LED strip appears simple, but the power connection determines its safety, brightness, and service life. This guide explains how to plug in LED light strip systems correctly, from checking voltage to testing the final connection. A strip may look ready to use, yet the wrong adapter can create heat, flickering, or permanent damage. Small details matter.
Dr. Robert F. Karlicek Jr., an LED lighting researcher, offers a useful principle: “The LED is only one part of the lighting system.” That idea applies directly here. The strip, adapter, connector, controller, and mounting surface must work together. Check whether the strip requires 5V, 12V, or 24V power. Match the adapter exactly. Do not rely on appearance.
Before connecting anything, inspect the copper pads and connector arrows. Keep positive and negative terminals aligned. Calculate the strip’s total wattage, then choose a power supply with reasonable capacity above that requirement. A tight coil can trap heat. Unroll it during testing.
Test briefly first.
A correct installation should produce steady light without buzzing, hot connectors, or dark sections. If the strip flickers, stop and inspect the wiring. The adapter may be undersized, or the connector may be loose. Many failures come from rushing this stage. Even experienced installers can overlook polarity after cutting several sections. That is worth remembering.
This introduction will guide you through compatible adapters, connector placement, voltage checks, and safer installation habits. It will also address common mistakes that seem harmless but shorten LED strip performance. A clean result is useful. A reliable one is better.
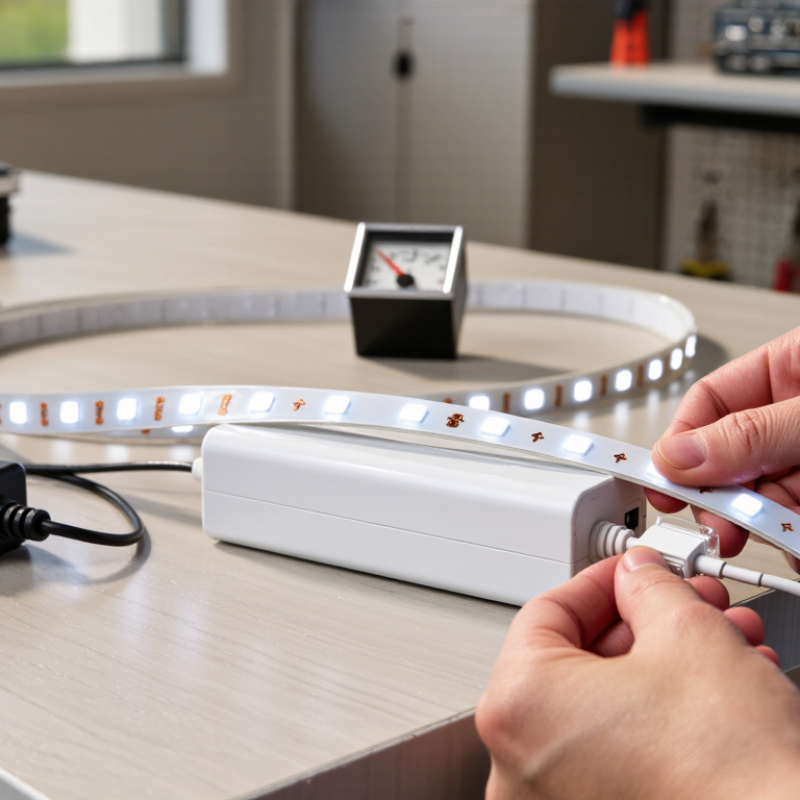
Identify the LED Strip’s Voltage, Power, and Connector Type
Before plugging in an LED light strip, read the voltage printed on its label or circuit board.
Common options are 5V, 12V, and 24V, and they are not interchangeable.
A 12V strip connected to a 24V supply may overheat within seconds.
A 5-meter strip rated at 14.4W per meter requires 72W. At 12V, that equals 6A.
Choose a power supply with roughly 20% spare capacity, so a 90W supply is more practical.
The U.S. Department of Energy’s 2023 Solid-State Lighting report highlights efficiency and thermal management as major LED performance factors.
Heat still matters, especially in enclosed channels.
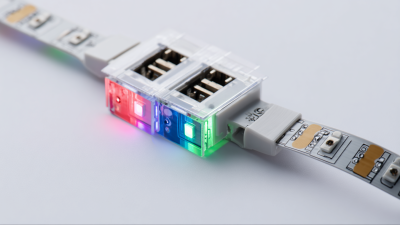
Check the connector type before ordering accessories.
Match the number of pins, strip width, polarity, and control method.
A single-color strip often uses two conductors, while tunable-white or RGB strips may use four or five.
Arrow markings should face the correct direction.
They are easy to overlook.
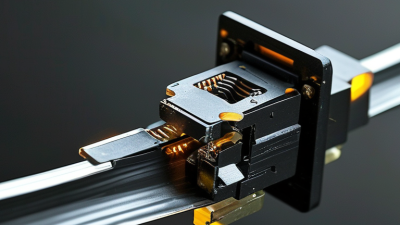
Match the connector’s current rating with the calculated load; a loose contact can become hot and cause flickering.
For longer runs, voltage drop may dim the far end, so feeding power from both ends can help.
IEC 60598-1 emphasizes protection against electric shock, abnormal heat, and mechanical hazards in lighting equipment.
I still recommend testing a short section first.
My earlier installations have taught me that labels can be incomplete, and connector fit should never be assumed.
Choose a Compatible Power Supply and Required Accessories
How to Plug In LED Light Strip Correctly?
Choose a compatible power supply before connecting your LED light strip. Check the strip’s required voltage, usually 12V or 24V DC, and match it exactly. Never connect a low-voltage strip directly to a wall outlet. Confirm the power supply’s output current as well. Calculate the strip’s total wattage, then choose a supply with about 20–30% extra capacity. This headroom reduces heat and improves reliability.
The connector must match the strip’s width, pin layout, voltage, and polarity. A loose connection can cause flickering, dark sections, or overheating. If you need color control, use a compatible controller or dimmer between the supply and strip. For bathrooms, kitchens, or outdoor areas, check the strip’s water-resistance rating and protect every connection properly. I once focused only on voltage and overlooked the connector width. The strip worked briefly, then failed at the first joint. Small details matter.
Tips: Unplug the power supply before changing connections. Test a short section first. Use a multimeter when the wiring is unclear. Keep the power supply ventilated, not beneath insulation or fabric. Avoid exceeding the strip’s maximum run length, because voltage drop may make the far end noticeably dimmer. If the cable feels warm, stop and inspect the load, polarity, and terminals. A careful installation may take longer, but rushing creates problems that are harder to trace.
Connect the LED Strip to the Power Supply Correctly
How to Plug In LED Light Strip Correctly?
Connecting an LED strip to the correct power supply starts with matching voltage. Check the strip label and adapter output before making any connection. A 12-volt strip needs a 12-volt supply. Never guess. The current rating also matters. Calculate the strip’s total wattage, then choose a supply with about 20% extra capacity. This reduces heat and flickering during longer use.
Turn off the power before touching the wires. Find the positive and negative markings on both the strip and supply. Connect positive to positive and negative to negative. Reversed polarity may prevent the strip from lighting, and repeated mistakes can damage sensitive parts. Use a suitable connector or secure terminal connection. Bare copper should not hang loose.
Test it briefly.
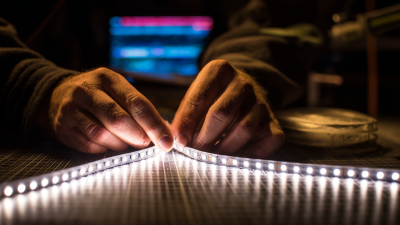
I once focused on the plug and overlooked the strip’s cut mark. That small error made the connection uneven and unreliable. Cut only where marked, then protect the exposed end with an appropriate cap or seal. For damp areas, every joint needs proper moisture protection. Keep the power supply ventilated, not under fabric or inside a tightly closed box. If the strip flickers, becomes unusually hot, or dims near the far end, stop and inspect the load, wiring, and connection points. A short test is useful, but it is not a substitute for checking the installation carefully.
Troubleshoot Common Plugging and Connection Problems
How to Plug In LED Light Strip Correctly?
When an LED strip fails, the power supply is not always the problem. Switch off the circuit before checking any connection. Confirm that the adapter voltage matches the strip’s required voltage. A mismatch can cause dim lighting, flickering, or permanent damage. Check the connector direction as well. The positive and negative marks must align. If the strip stays dark, inspect the copper pads for dust, cuts, or loose contact. A small gap can interrupt the entire circuit.
Tips: Test the strip on a clean, dry surface before installation. Press each connector firmly, but never force it. If one section works and another does not, gently bend the strip near the connection. Sudden flickering may indicate a weak joint or an overloaded adapter. An adapter that becomes unusually hot needs immediate attention. Use a suitable meter if available, and ask a qualified electrician when readings seem unclear.
I once assumed a dead strip needed replacement, but the connector had shifted by only a few millimeters. That mistake was simple, yet it wasted time. Waterproof strips require extra care because a damaged seal can let moisture reach the contacts. Cutting outside the marked points may also create a useless section. After reconnecting, secure the cable so its weight does not pull on the joint. A quick repair can look successful, but repeated flickering means the connection still needs review.