How to Choose an RGB Ring Light for Product Photography
Product photography depends on controlled light, not simply brighter light. An Rgb Ring Light can add clean illumination, colorful accents, and consistent results. However, choosing the wrong model may create harsh reflections on glass, metal, or glossy packaging.
Professional photographer Karl Taylor often says, “Light is everything in photography.” His point is practical. Light reveals texture, shape, labels, and surface quality. Therefore, this guide examines the features that matter before purchase. These include color accuracy, brightness control, color temperature, ring diameter, diffusion, and flicker performance.
Start with color accuracy. A high CRI rating helps products retain believable colors under studio conditions. Adjustable white balance also supports different materials and backgrounds. A larger ring usually creates softer shadows. Smaller units may suit jewelry, cosmetics, and compact tabletop scenes. Check the mounting system too. A stable stand prevents small shifts between shots.
RGB effects are useful, but they should not overpower the product. Subtle blue or magenta light can separate a subject from a dark background. Too much saturation can make packaging look inaccurate. That mistake is easy to make.
I learned this through trial and error. My first colorful setup looked dramatic, yet the product label became difficult to read. The image felt attractive, but it was not commercially reliable. That experience changed my buying criteria.
A dependable Rgb Ring Light should offer smooth dimming, quiet operation, simple controls, and repeatable settings. Wireless control is convenient, but poor software can waste time. Real product photography needs flexibility and discipline. This guide will help you balance creative color with accurate presentation.
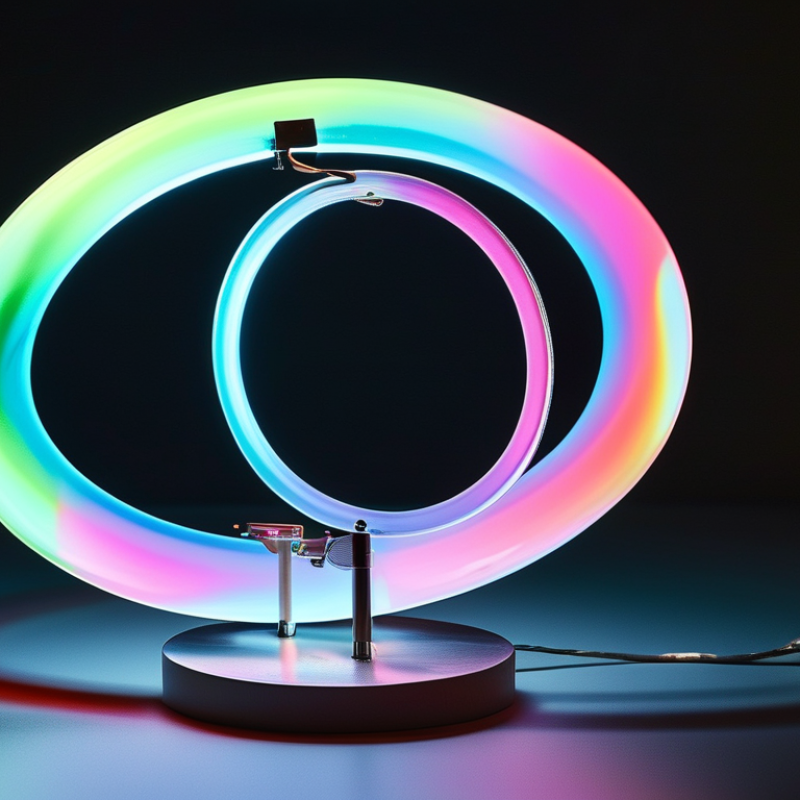
RGB Ring Light Basics for Product Photography
RGB ring light basics matter more than colorful effects in product photography. An RGB fixture mixes red, green, and blue light to create hues, while its white mode may not use a dedicated white diode. That difference can affect product color and skin tones. The International Commission on Illumination recommends evaluating color rendering with standardized methods, not appearance alone. Look for CRI 90 or higher, then check TM-30 results when available.
Start with neutral white light around 5,000–5,600K. Add RGB color only as a controlled background or edge accent. A blue rim can separate a black bottle from a dark backdrop, but excessive saturation may spill onto reflective packaging. Ring-shaped reflections also appear on glossy surfaces. Move the light slightly above the lens, or rotate the product. Small changes matter. I still make this mistake.
Energy efficiency is another practical concern. The U.S. Department of Energy reports that LED lighting uses at least 75% less energy than incandescent lighting and lasts much longer. Grand View Research valued the global LED lighting market at approximately $78.5 billion in 2023, showing how established this technology has become. For buying decisions, prioritize stable brightness, flicker-free operation, adjustable color temperature, and manual RGB control. App features are convenient, but they cannot repair inaccurate white balance. A light meter and a gray card remain more reliable. Loose assumptions create expensive retakes.
Key Features to Compare Before Buying
How to Choose an RGB Ring Light for Product Photography
Key Features to Compare Before Buying
An RGB ring light can shape a product scene, but colorful effects are not the main priority. Check the light’s CRI or TLCI rating first. High color accuracy helps bottles, fabrics, and food packaging look closer to reality. Adjustable color temperature is also valuable. A range around 3,200K to 5,600K can suit warm rooms and daylight windows. Brightness should change smoothly, without sudden jumps. Flicker-free performance matters when using higher shutter speeds or video. I used to focus too much on RGB effects. That was a mistake. Neutral white light usually produces more reliable product colors.
Tips: Compare the diffuser, power output, and control method. A soft diffuser reduces harsh reflections on glossy surfaces. A larger ring can create broader, gentler illumination. Check whether the stand stays stable with a camera attached. Small controls can become annoying during repeated shoots. Test the light at your working distance, not only in a showroom.
Also examine the mounting system and heat management. A centered camera mount helps keep products aligned. Wireless control is convenient, but physical buttons remain useful when connections fail. Look for independent control of hue, saturation, and brightness. RGB modes should support creative backgrounds without contaminating the product itself. Review real user measurements when available, especially for color accuracy and maximum output. Specifications can look impressive. They do not always match practical results.
Matching the Light to Your Product and Shooting Setup
Matching the light to your product matters more than choosing the brightest RGB ring light. In my product shoots, I use soft white light for skincare, ceramics, and food packaging. It keeps colors natural and reduces distracting reflections. RGB effects work better for creative backgrounds, seasonal scenes, or products with bold visual identities. However, saturated colors can distort labels and hide small details. That mistake is easy to make.
Your shooting setup also controls the right size and power. A larger ring spreads light more evenly across wide products. A smaller unit suits jewelry, cosmetics, and tabletop items. Check the stand height, camera position, and available desk space before buying. For glossy objects, place the light slightly above and to one side. This creates cleaner highlights than facing the product directly. Adjustable brightness and color temperature are essential. A high color-rendering score is also important for accurate product tones.
Tips: Test the light with your actual product, not an empty table. Photograph white, black, metallic, and transparent surfaces. Watch for circular reflections in bottles and polished packaging. Use a diffuser when edges look harsh. Record your settings for repeatable shoots. I sometimes prefer a plain white mode over RGB effects. The result may feel less exciting, but it usually communicates the product more honestly. Review the image at full size before changing the light. Small color shifts can become obvious later.
How to Choose an RGB Ring Light for Product Photography - Matching the Light to Your Product and Shooting Setup
| Product or Shooting Need | Recommended Ring Diameter | Color Temperature | Color Quality | Target Brightness at Subject | RGB Use | Recommended Setup |
| Small cosmetics, jewelry, and accessories | 8–12 in (20–30 cm) | 4,000–5,600 K | CRI 95 or higher; TLCI 95 or higher preferred | 500–1,000 lux | Low saturation for subtle background accents | Close tabletop placement with a diffuser; use a white reflector to soften shadows |
| Food, beverages, and tabletop scenes | 12–18 in (30–45 cm) | 3,200–5,600 K | CRI 95 or higher for natural ingredient colors | 800–1,500 lux | Warm or complementary background color at low intensity | Place the key light 30–45° to the side; add diffusion to control glossy highlights |
| Beauty products and reflective packaging | 14–18 in (35–45 cm) | 4,500–5,600 K | CRI 96 or higher; stable color output is important | 1,000–2,000 lux | Use a narrow, low-power hue behind the product | Use a large diffuser or scrim; rotate the product and light to place reflections deliberately |
| Medium electronics and boxed products | 18–20 in (45–50 cm) | 4,500–6,000 K | CRI 95 or higher; avoid visible color shifts across the frame | 1,000–2,500 lux | Cool blue or cyan accent for controlled creative shots | Use the ring light as fill and add a larger side light for even box illumination |
| Fashion accessories and flat-lay photography | 18–24 in (45–60 cm) | 4,000–5,600 K | CRI 95 or higher | 800–1,800 lux | Pastel or neutral colors to support the styling palette | Mount overhead or slightly above the scene; use flags to prevent unwanted spill |
| Portrait-style product demonstrations | 18–24 in (45–60 cm) | 4,000–5,600 K | CRI 95 or higher; flicker-free operation preferred | 1,000–2,000 lux on the face or product | Use a saturated color only as a separate background or rim accent | Position near the camera for clean catchlights; keep the camera exposure and white balance manual |
| Large products or wider environmental scenes | 20–24 in (50–60 cm), or use multiple lights | 4,500–5,600 K | CRI 95 or higher; match all lights to the same color setting | 1,500–3,000 lux on the main subject | Use RGB for background separation, not as the primary exposure light | Combine the ring light with larger soft sources; measure exposure at the product surface |
Selection notes: Choose adjustable brightness, manual white-balance control, a diffuser, and a stable mounting system. Use the white-light mode for accurate product color and reserve RGB output for background, rim, or styling effects. Lux values vary with distance, diffuser type, and room conditions, so use a light meter or test exposure before final shooting.
Testing and Adjusting the Ring Light for Consistent Results
How to Choose an RGB Ring Light for Product Photography
Testing matters more than advertised color modes. Place the ring light 45 centimeters from the product, then photograph a gray card beside it. Keep the camera’s white balance fixed, not automatic. I usually begin near 5,600 K for neutral product images. D65 represents approximately 6,500 K in CIE colorimetry, but many lights display warmer readings than expected. Check the result, not the screen setting.
Use a light meter when possible. Record brightness, color temperature, distance, and power for every test. A 10% power change can alter reflections on glass, metal, and glossy packaging. Rotate the product slowly, watching for bright rings across curved surfaces. RGB effects should remain subtle unless the background needs colored separation. Saturated red or blue light can hide texture and distort material color. It looks dramatic. It may be inaccurate.
Salsify’s 2023 Consumer Research Report found that 87% of shoppers consider product content very or extremely important. That makes repeatable lighting a practical sales concern, not decoration. My first tests often failed because I adjusted exposure and color together. The comparison became useless. Now I change one setting at a time and save a reference frame. Review the files at 100% magnification. Inspect labels, edges, shadows, and skin-tone-like colors on ceramic or painted surfaces. A final visual check under neutral room lighting can still reveal mistakes.
How to Choose an RGB Ring Light for Product Photography
Testing the light at the center and four edge positions helps reveal uneven illumination. After adjusting the ring light angle, distance, and brightness, uniformity improves across common color-temperature settings.
How to read the chart: Uniformity is calculated by comparing the average illumination measured at four edge positions with the center measurement. A higher percentage indicates more consistent lighting across the product, helping reduce brightness gradients and uneven color during photography.
